Quilt As You Go

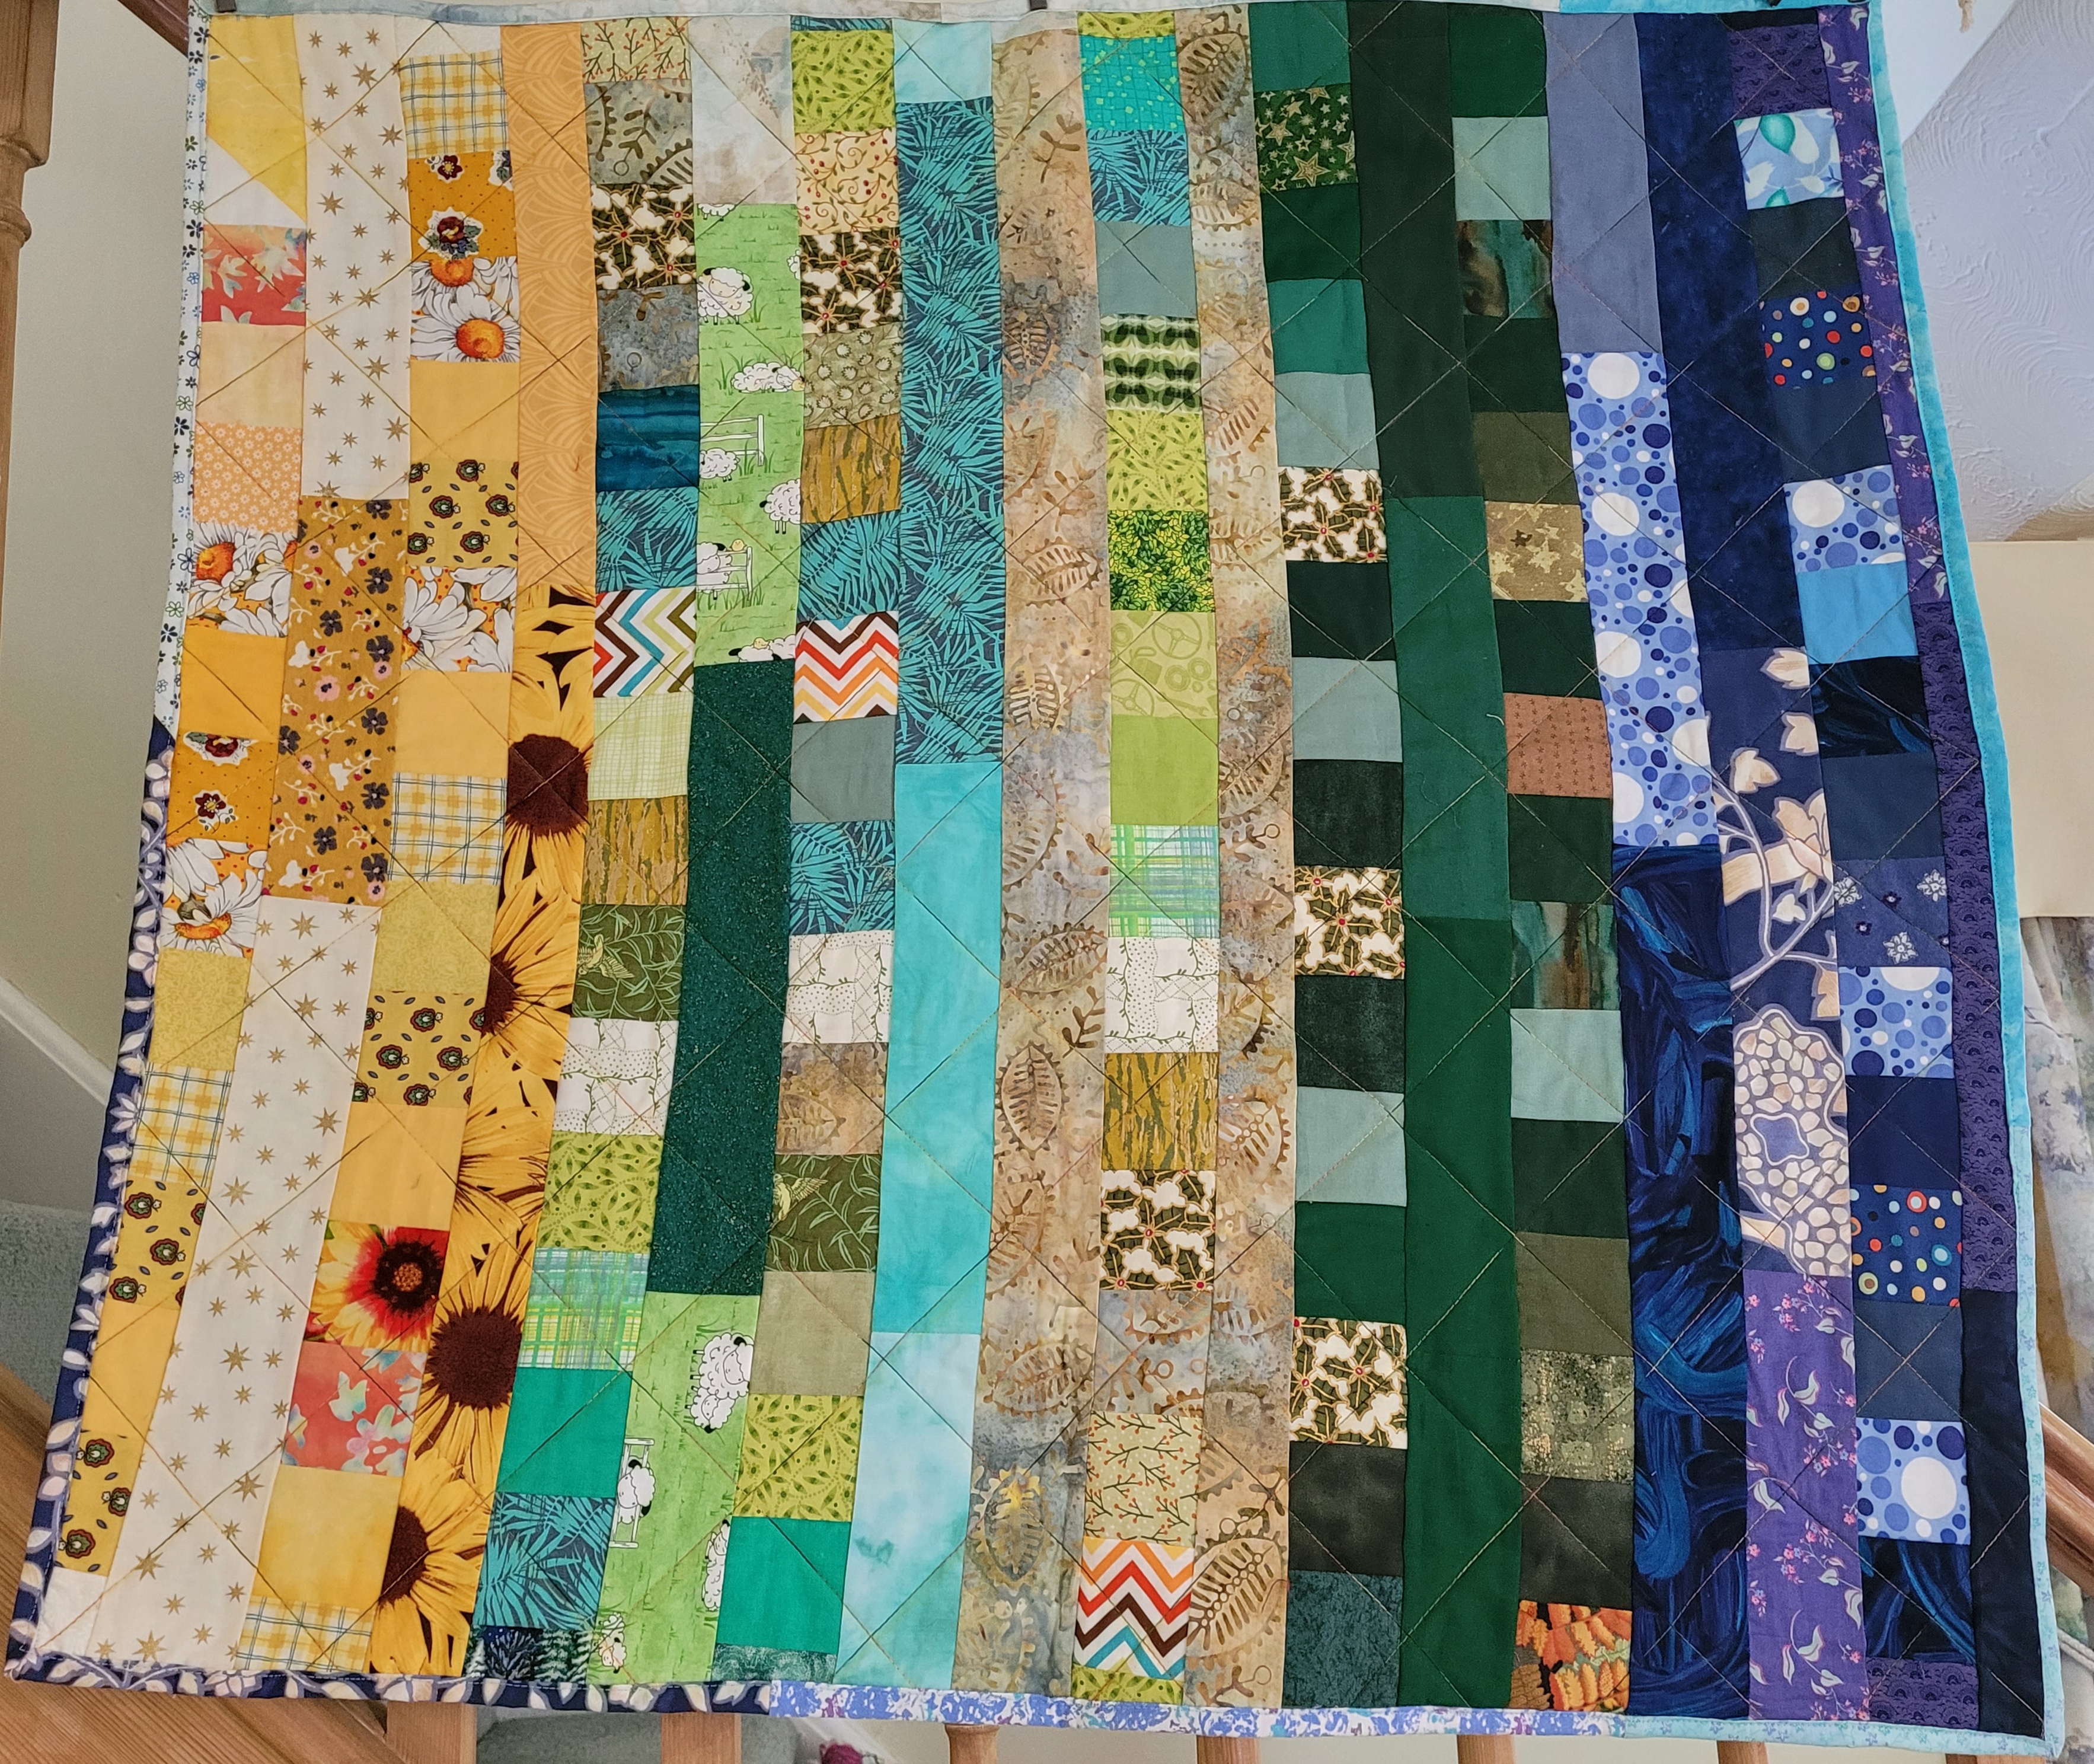
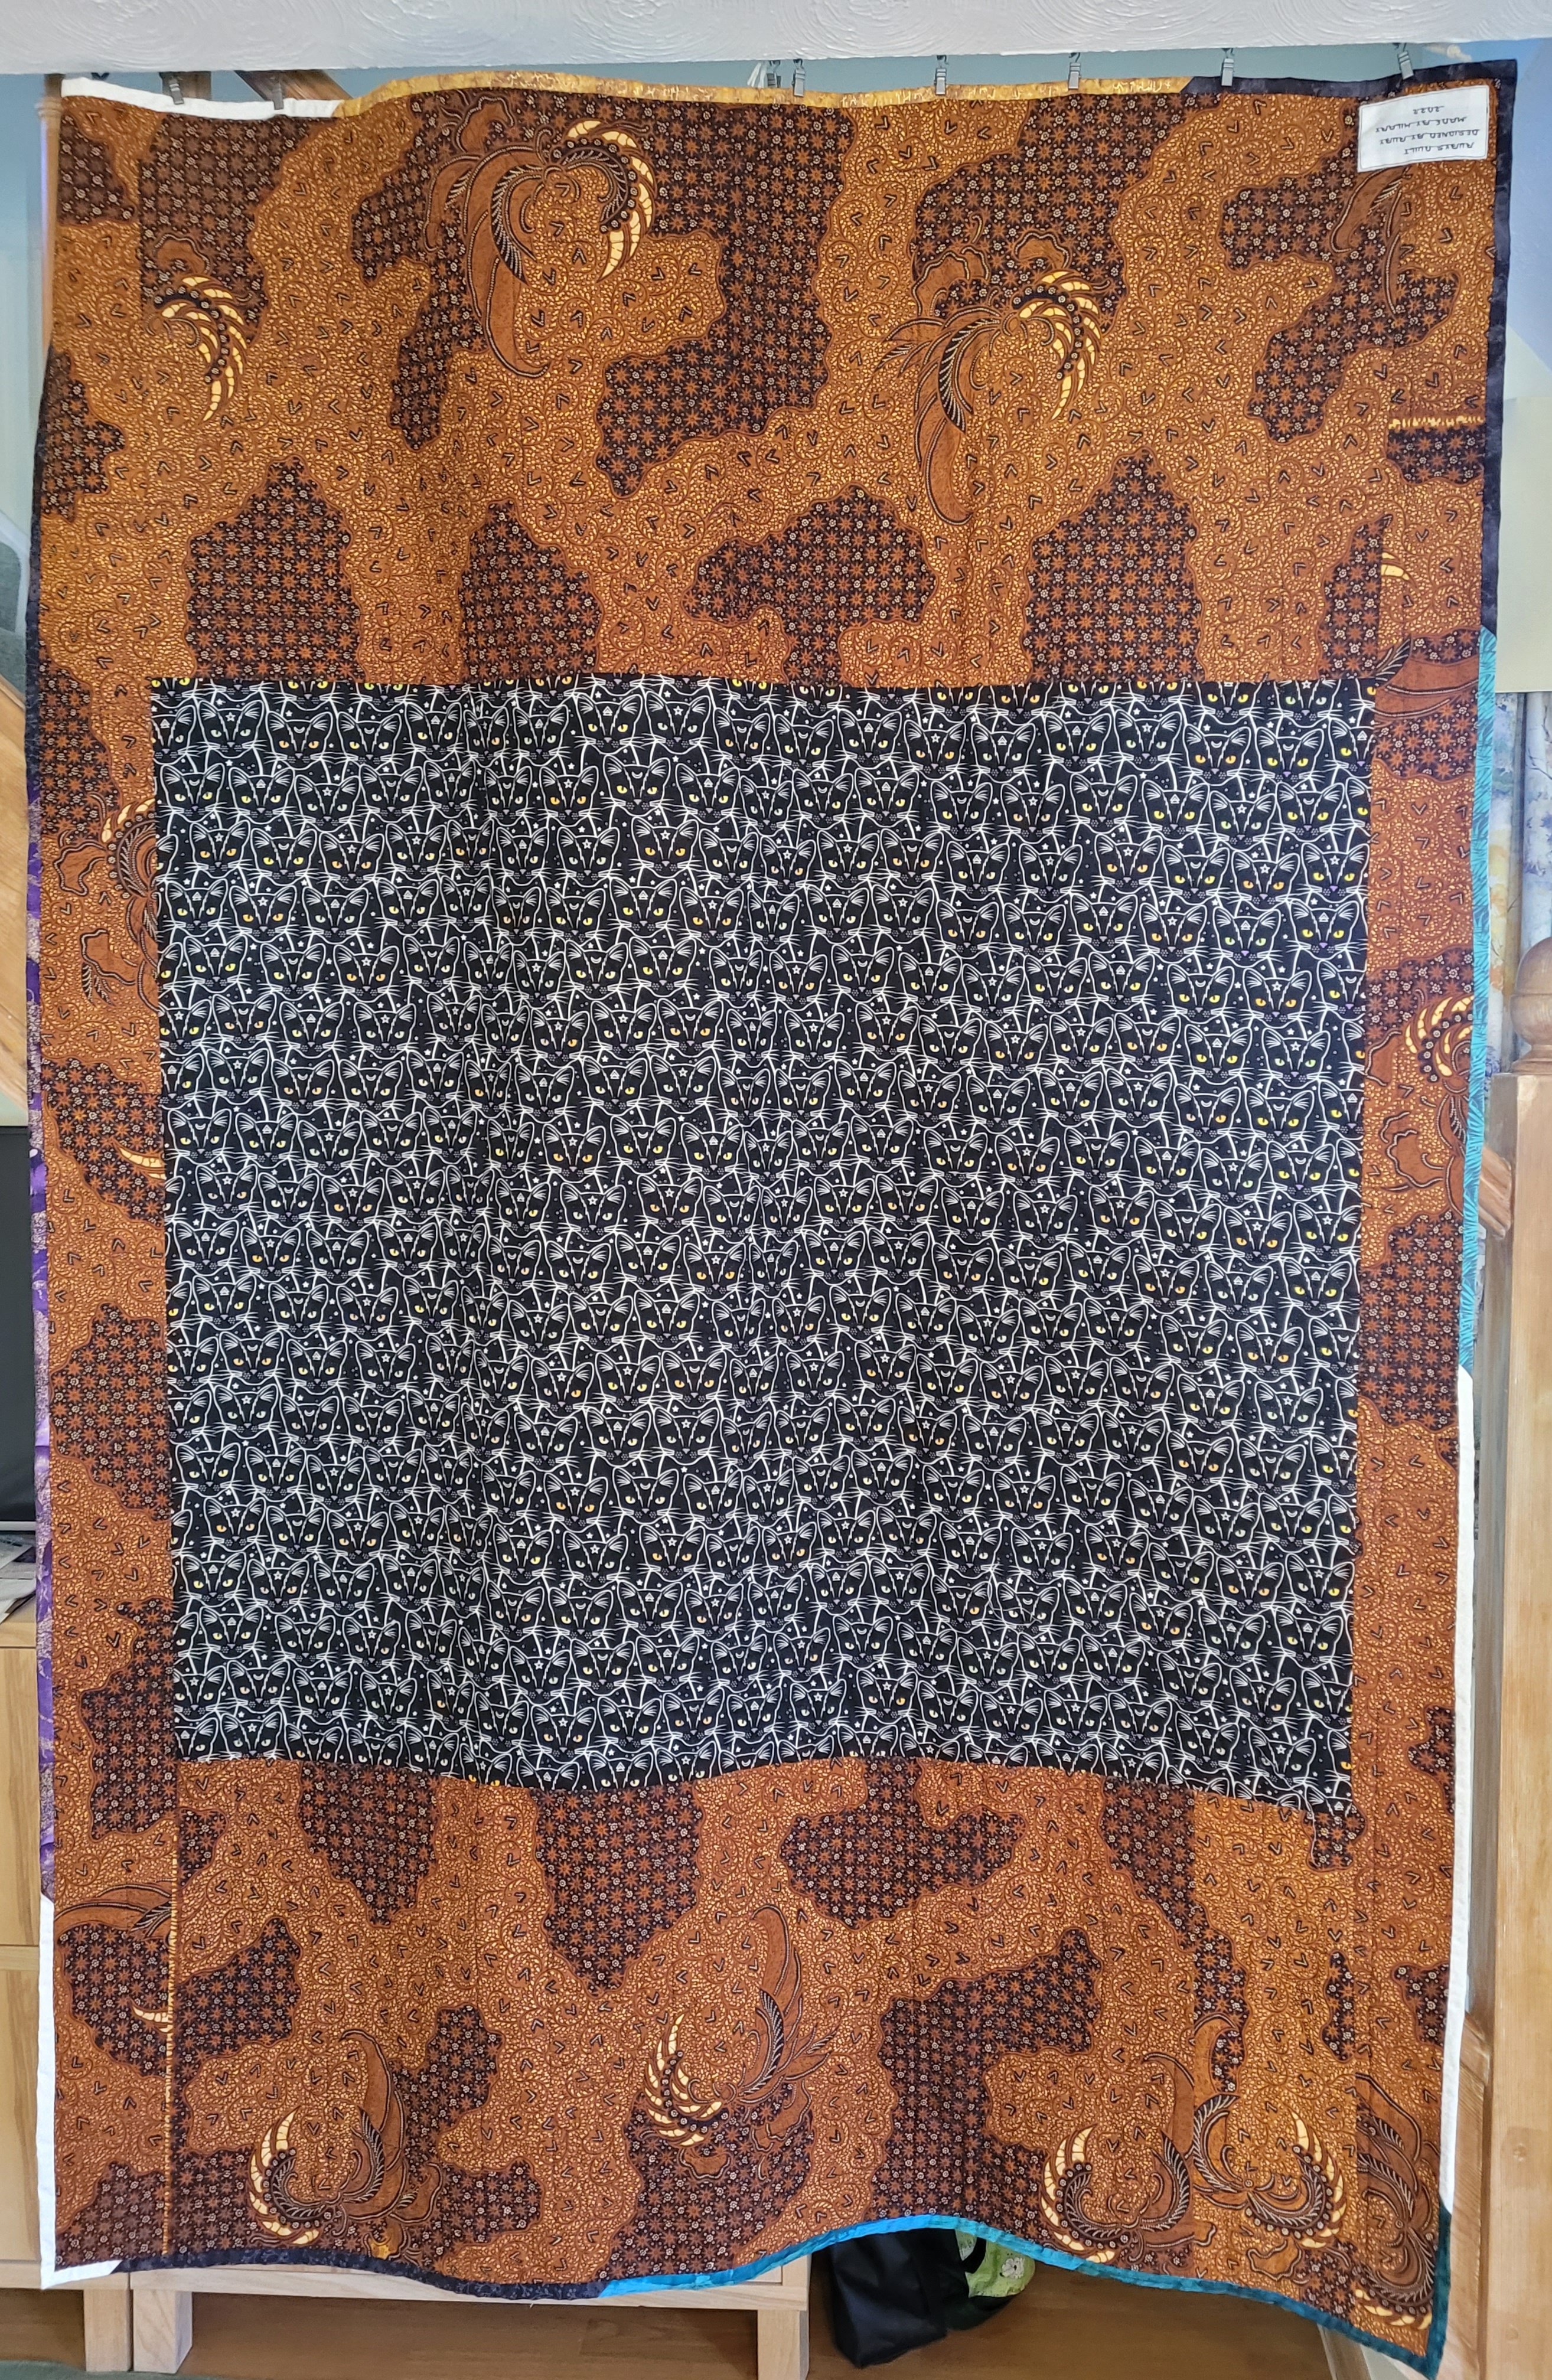
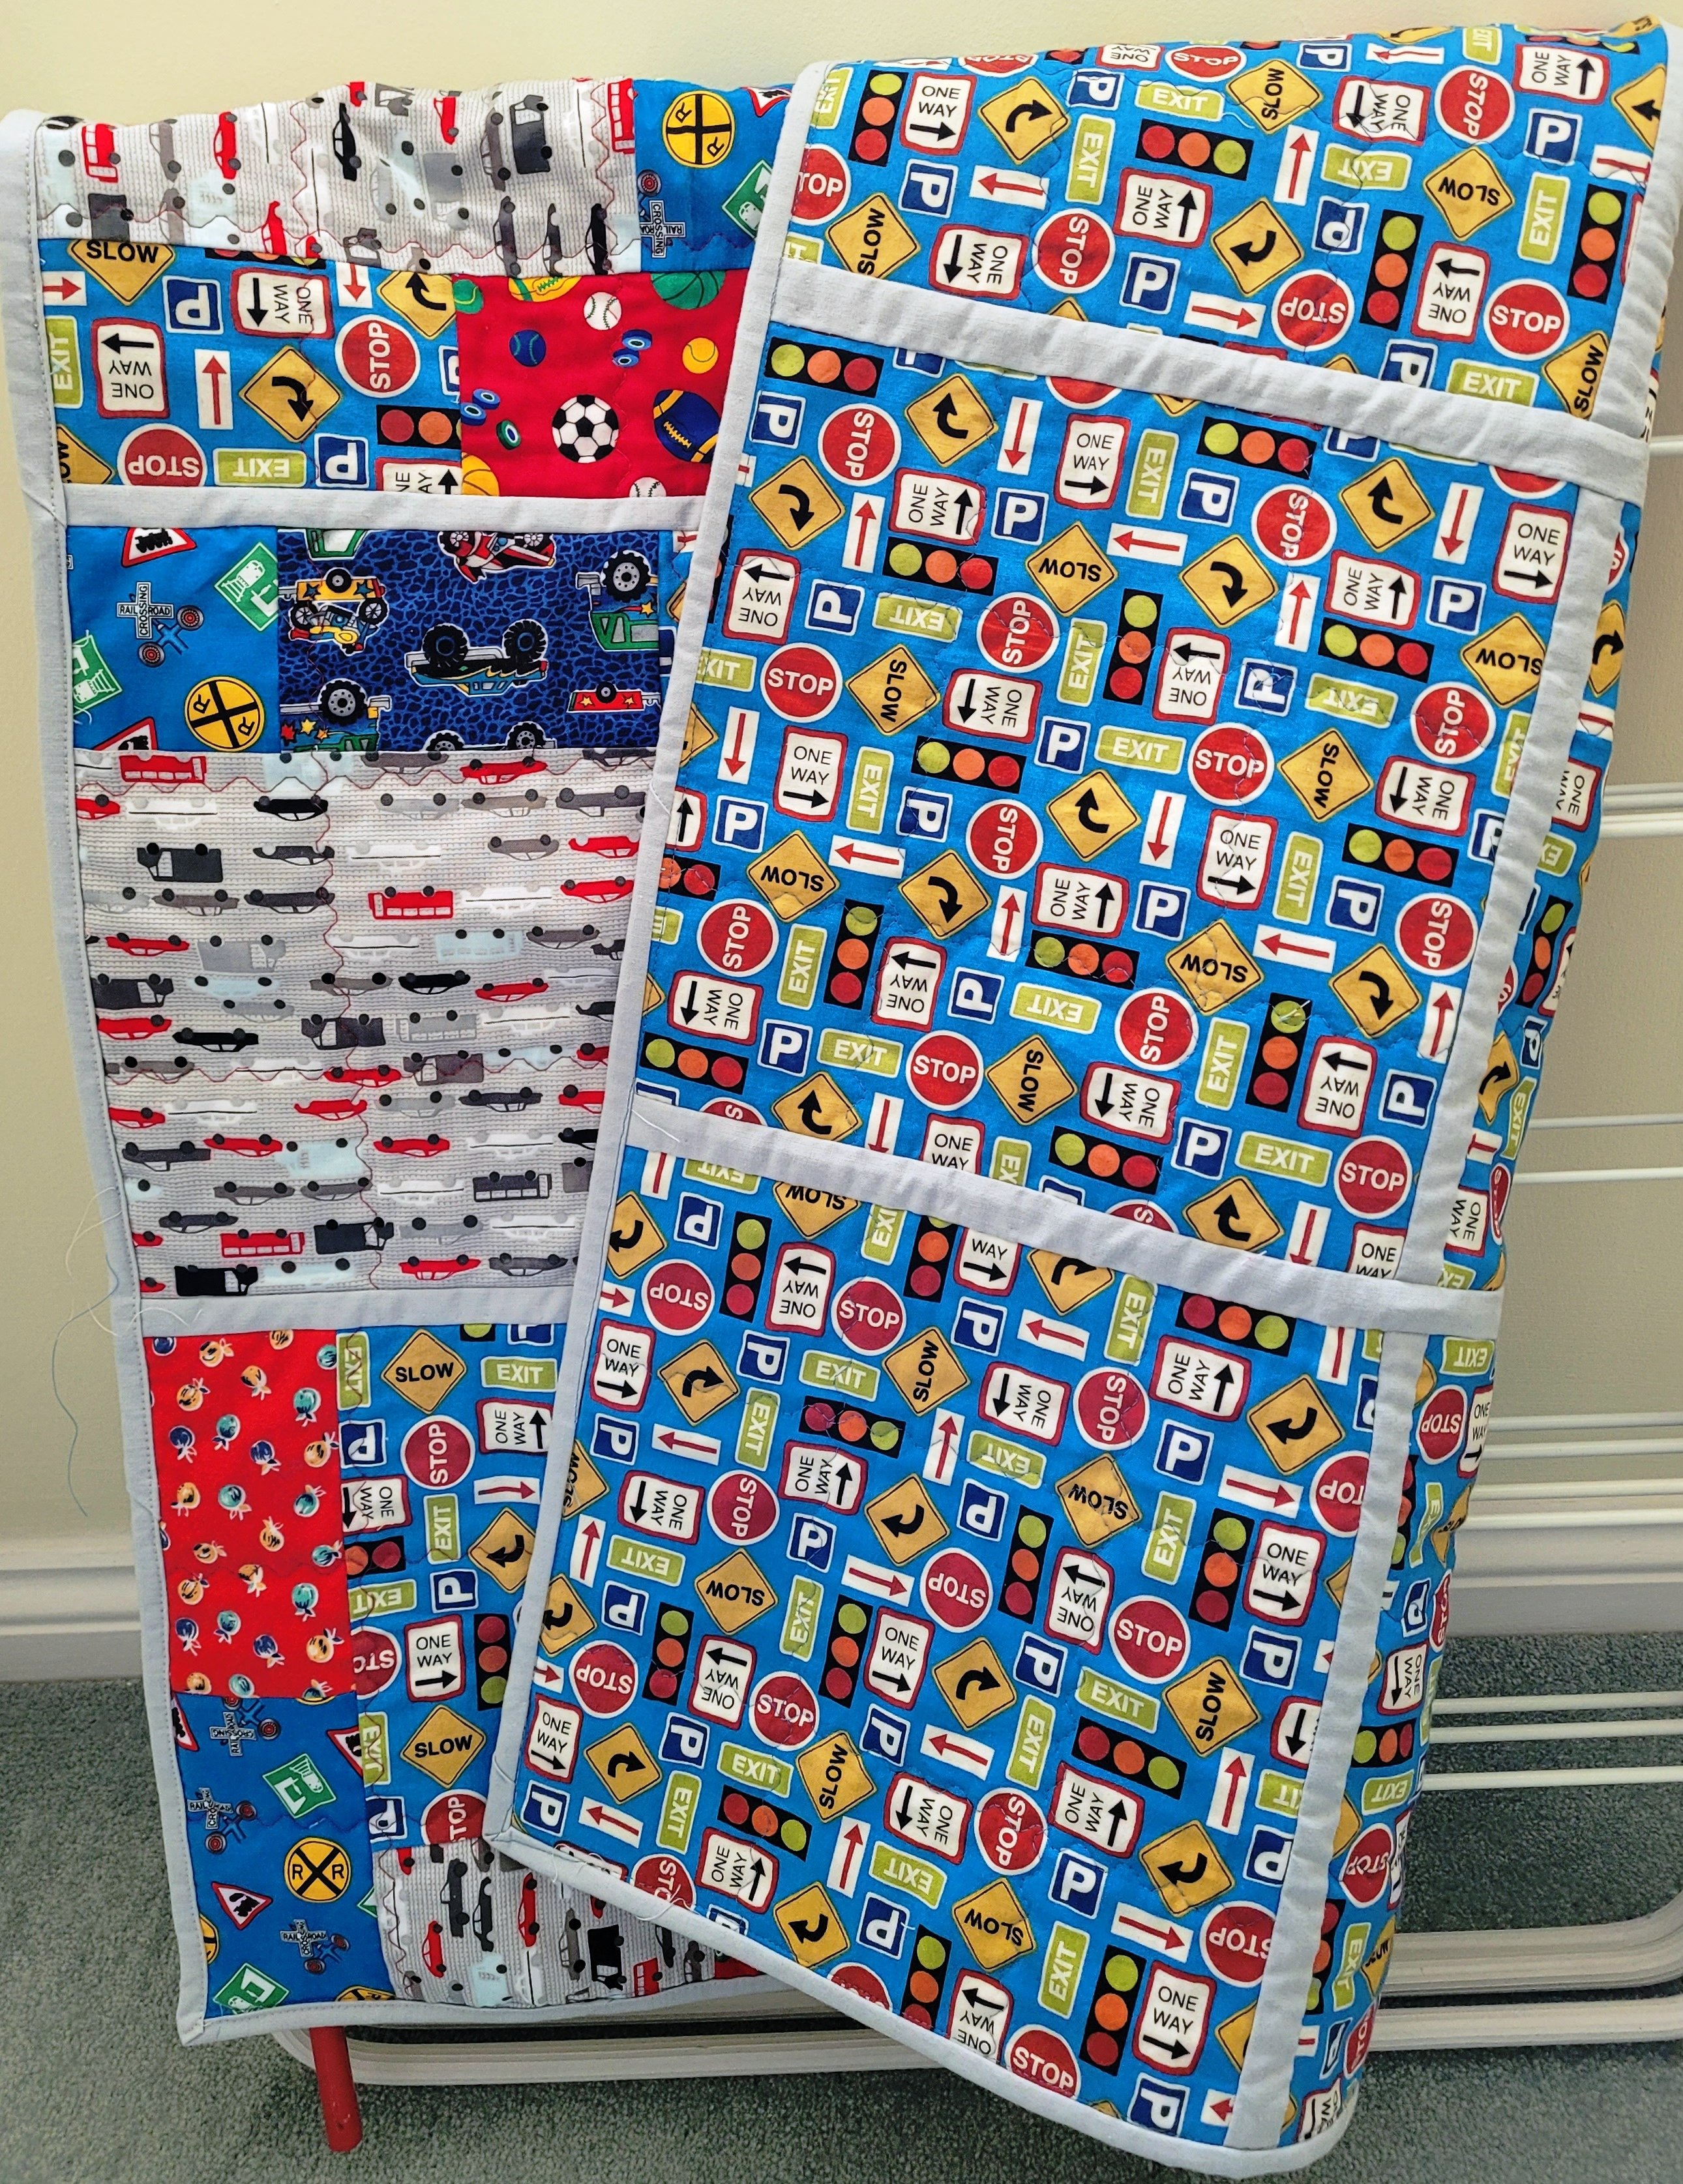
Still trying to use up material and remains of wadding, I have made several of these easy pattern, quilt as you go for Project Linus UK ( https://projectlinusuk.org.uk/ ).  They finish to approximately 34” square.  I have even sewn oddments of wadding together for these.  Quilting each square is really easy – a change from heaving a whole quilt through the sewing machine.  And this method allows the backing to use different materials.  Click on a picture to see it in full, then press the ‘back arrow’ on the browser to go back.

New Year Linus Quilts

I have been attempting to use up some of my material pile; despite making these 4 quilts there doesn’t seem to be any reduction in the size of the pile!.   At lease I tackled the collection of ‘odds and ends’ and reduced them to 2.5” squares and strips of varying size.  I’m in a ‘colour theme’ mode so made the 3 squares and strips quilts.  The other quilt is from a collection of what seems to be samples which I found during a massive tidy up.   All of these are for the charity Project Linus UK ( https://projectlinusuk.org.uk/ )

Giant Clam Shell Quilts

2 similar, but not identical, Giant Clam Shell Quilts, Size approximately 27 inches by 36 inches, destined for Project Linus : https://projectlinusuk.org.uk/.

These kept me occupied during the Spring and just completed as I didn’t sew during the summer.  It was an exercise in using up some material, and their size was dictated by the amount of backing material I had.  .  This is a new pattern for me, one that I won’t be repeating.  I was not happy with the results, as I didn’t get the shells the same size/shape .  I found gathering the material round the template more trying than I imagined even though the shapes were large .  Appliqueing the shells to the backing was fine.  I tried to echo the shape in the quilting.

Summer Cardigan

I started knitting this so long ago it might be 2 years!  Along the way I lost interest several times but as you see eventually finished it.   Using the leftover yarn (acrylic) from the ‘sheep cushion’, plus some grey that was in the stash.  The plan was to wear it on a cruise, which for obvious reasons never happened.

Mini Cat Quilt

This pair of cats was the sample I made whilst trying out the pattern for the larger cat tails quilt made earlier this year.  I chose yellow because I like the colour and didn’t want to waste the sample or the little bits left over, hence the irregular borders!.  The backing fabric is the same as the outer border.  Size 26” wide by 38” long.  Destined for Project Linus.

IVY Leaf Quilt

A companion for the Iris quilt of last year, for Iris’s sister Ivy.  The Leaves are modelled on the Boston Ivy which changes colour and on a photo I found showing all those colours out at the same time.

The leaves are appliqued on using a fabric glue pen that I saw advertised in a quilting magazine.  This gadget is wonderful for short term gluing only but it doesn’t glue up the sewing machine needle.

Only the applique background fabric was bought; all the rest came from my ‘stash’.

Size 40” long by 33” wide.

Cat Tails Quilt

This is a single bed size ( 72” X 49”) and was made for the daughter of a friend, who selected the pattern from one I had kept out of a very  old american quilting magazine.  The fabrics were all chosen by her from my collection and arranged by the recipient.  The Black cat face fabric came from my friend – leftover from the baby bag I had made for her.

With thanks to my friend Mary  (https://www.needlecraftworld.co.uk/Needlecraft/MaryPage.php)   who re-created the pattern for me as I hadn’t kept all the instructions with the sizes !!  And I wanedt the cats larger than they appeared in the pattern.   Getting the draft pattern to work took a few attempts, and I would keep sewing the cat’s ears on upside down!.   So a fair amount of reverse sewing took place.   All quilted “in the ditch” as well as the “squiggle”s.

Knitting Needle Case

Finally I got around to making this having had the pattern for this probably 10 years!.  Despite the quantity of material I have, I did struggle to find some that I wanted to use, but the outside cat material was just the correct size.  The inside material is using up bits and while I’m not very fond of brown, it was the only colour I had enough material that went with the cats.

Iris quilt for an Iris

I won the pattern for this in a raffle at a Project Linus sewing day , and also picked up most of the material at the same time.  Initially the applique pattern was for a wall hanging but I intended to make it into a small quilt .  It is 40” long by 32.5” wide.  This size was determined by the backing fabric, which I love, and that was all I had of it.

I made some simplification changes to the pattern because it called for a lot of small pieces and I just didn’t have the patience!  The pieces are appliqued using ‘bondaweb’.  I quilted around the flowers and leaves.

Initially I didn’t know where it was going to go, then I thought maybe a friend of mine would like it for one of her small twin girls called Iris!  And she did, and so does baby Iris.

Piped Cushions covers


Many years ago I attended a one day course on making cushion covers and then made a number of them, including piped box cushion cover.  When a friend’s daughter liked a couple of pieces of my fabric stash and requested cushion covers out of them I thought ‘no problem’.  Ha Ha.

I ordered the piping flange (I didn’t know it was called that!) online by colour from 2 different suppliers.  I started on the cat cushion first as there was no cushion pad so no measuring to do.  I stitched the piping onto one side finding it very difficult to get close to the piping.  I struggled with joining the 2 ends – unbraiding the ends and attempting to weave them together.  Then stitched the other piece of material to the first. Turning it through the result was terrible!  A lot of the ‘flange’ was showing.  I unpicked it and took it to my sewing group along with the other material and the cushion pad.  Turned out that the purple piping was not useful as it wasn’t attached to the edge of the flange, so I would never get close enough.  I ordered more from the other supplier – whose piping cord was attached to the edge of the flange and managed to get a better result except for joining the two ends (which I decided to ignore)

In the intervening years I had forgotten how to work out cushion cover sizes for the yellow one (!) and how to calculate for inserting a zip – here I was helped by my sewing group tutor.   Strangely I manged to join the 2 piping cord ends reasonably well !.

Previous Older Entries